 Add My Company
How to Join Spiral Ducting

How to Join Spiral Ducting: A Step-by-Step Guide
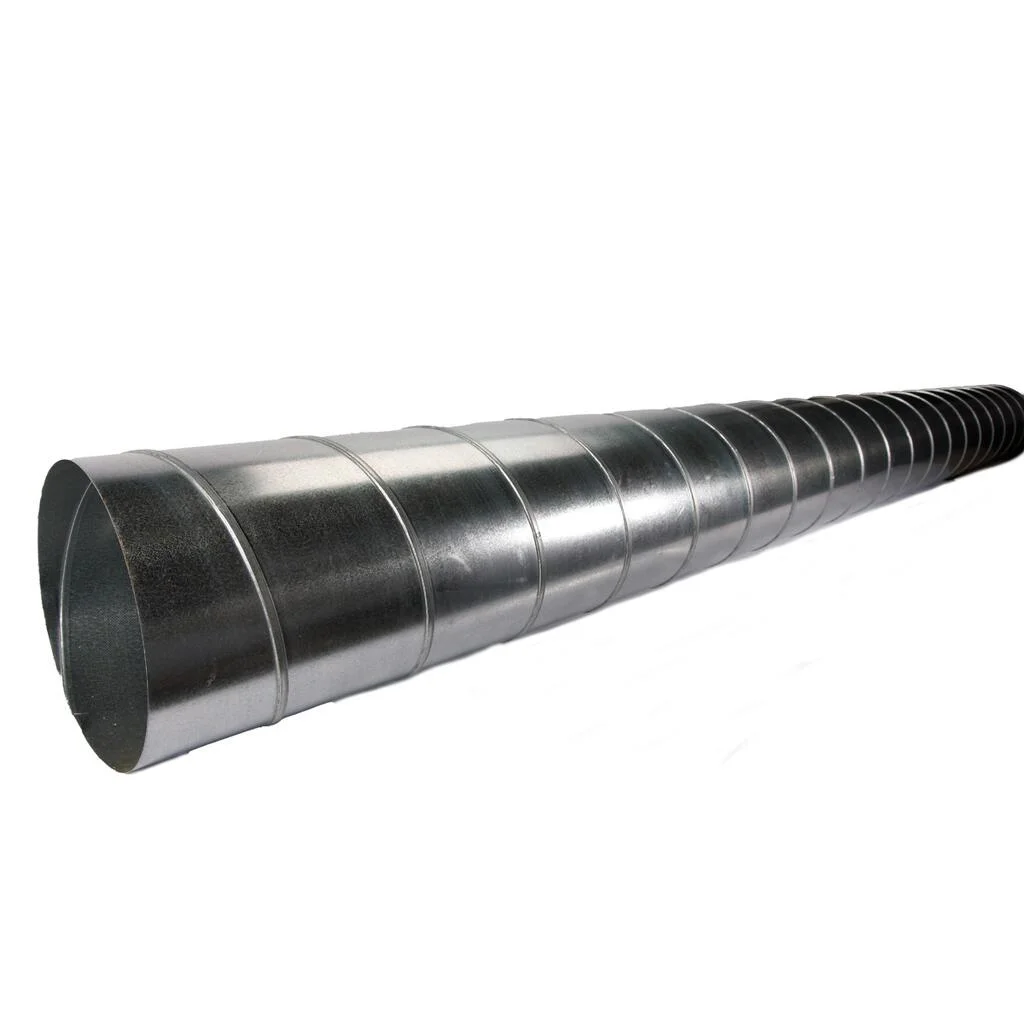
Spiral ducting is commonly used in HVAC systems due to its durability, efficiency, and ease of installation. Whether you're a professional duct fitter or a DIY enthusiast, knowing how to correctly join spiral ducting is crucial. This guide will take you through the process step-by-step to ensure a secure and airtight connection.
Tools and Materials Needed
Before you begin, make sure you have the following tools and materials:
- Spiral duct sections
- Male connector
- Tek screws
- Duct sealant or mastic
- Duct tape
- Drill with a square head bit
- Measuring tape
- Safety gloves and goggles
Step-by-Step Instructions
1. Measure and Cut the Duct Sections
Measure the required length of the ducting for your installation. Use metal snips, a hacksaw, or, ideally, an angle grinder to cut the spiral duct to the correct length. Ensure the cut is straight and clean to ensure a better fit.
2. Apply the Duct Sealant
Apply a bead of sealant around the male end, which could be a male connector or duct fitting that slips inside the spiral duct. Make sure you apply enough sealant to cover the entire circumference, ensuring a full seal at the connection.
3. Fit the Male Connector
Slide the male connector into one end of the spiral duct. It should fit snugly, providing a smooth transition between sections.
4. Join the Duct Sections
Repeat step 2 on the other side of the male connector, and then insert the connector into the second section of spiral duct.
5. Secure the Connection
Use self-tapping screws to fasten the duct sections to the connector. Space the screws evenly around the duct's circumference, approximately every 3-4 inches. This ensures a strong and stable connection.
6. Reinforce with Duct Tape
For added security, wrap the joint with high-quality duct tape. This not only seals any remaining gaps but also provides an extra layer of protection against leaks.
7. Inspect the Installation
Once all joints are sealed and secured, inspect the entire length of the ducting for signs of leaks or loose connections. If necessary, apply more sealant or screws to reinforce the joints.
Tips for a Successful Installation
- Use Quality Materials: Invest in high-quality spiral ducting, connectors, and sealants to ensure the durability and efficiency of your HVAC system.
- Follow Safety Precautions: Always wear safety gloves and goggles when handling metal ducting to prevent injury.
- Check for Obstructions: Before starting your installation, ensure the ducting path is free from obstructions that could block airflow or damage the ducts.
- Plan Your Layout: Carefully plan the layout of your ducting system to minimise the number of joints and bends, which can reduce airflow efficiency.
Joining spiral ducting may seem challenging at first, but with the right tools and techniques, it can be a straightforward task. Properly connected and sealed ducting ensures the optimal performance of your ventilation system, delivering efficient airflow and improving indoor air quality. By following these steps, you'll achieve a professional-grade installation that will last for years.
Happy ducting!
For more information on How to Join Spiral Ducting talk to Alpha Air Ventilation Supplies
