

A GUIDE TO THE POLISHED CONCRETE INSTALLATION PROCESS
One of the most rewarding aspects of installing polished concrete floors is the uniqueness of each project. While our flooring specialists consistently employ the same expert diamond grinding and polishing techniques, the floor’s existing condition, your desired finish, and the specific environment always bring exciting variations.
We understand that homeowners often have questions about the polished concrete installation process. That’s why we’ve created this guide to walk you through the steps. We’ll cover everything from retrofitting polished concrete flooring onto existing surfaces, to polishing brand new concrete slabs, and installing beautiful polished concrete overlays.
DIRECTSTONE – YOUR EXPERTS IN POLISHED CONCRETE FLOORING
With over a decade of experience, DirectStone is your trusted source for beautiful, long-lasting polished concrete floors. Located in Wrest Park, Bedfordshire, our family-run business offers bespoke solutions tailored to your needs – whether you’re planning a brand-new installation or want to revive the shine of existing concrete surfaces. Our specialist team installs in residential and commercial settings.
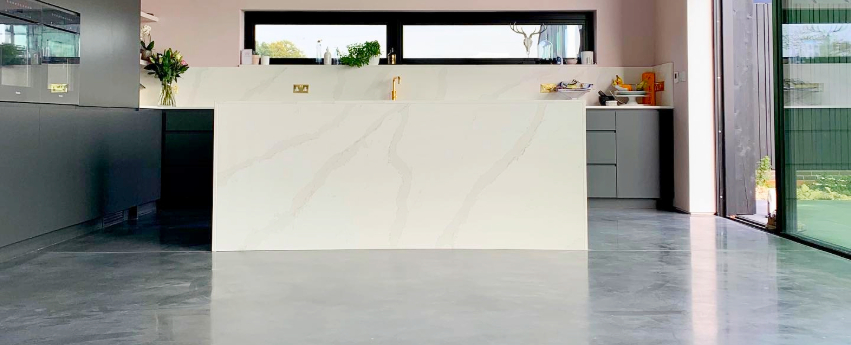
THE BASIC POLISHED CONCRETE PROCESS
Transforming raw concrete into a stunning polished surface involves three key stages:
- Diamond Grinding – Revealing the Hidden Beauty
Preparation – Before any grinding begins, the concrete is rigorously cleaned and inspected for any necessary repairs.
Grinding – Using specialised HTC Superfloor™ machines, we gradually grind the concrete surface with increasingly finer diamond abrasives. This process carefully removes imperfections and exposes the aggregate (the stones and sand within the concrete mix), creating the foundation of your polished floor’s unique character.
Customisation – The level of grinding determines the amount of aggregate that shows through, allowing you to achieve the desired look from subtle exposure to a full, salt-and-pepper effect.
- Polishing – From Functional to Fabulous
Densification – A chemical densifier is applied to the concrete. This hardener penetrates the surface, making it denser and more resistant to wear and tear.
Polishing – Diamond polishing pads of progressively finer grits are used to hone the concrete. This process creates the desired level of shine, whether you’re aiming for a subtle matte finish, a classic high gloss, or something in between.
- Concrete Sealer – Protection and Longevity
The Final Touch – A high-quality concrete sealer is applied to protect your polished floor from stains, spills, and everyday wear. This ensures your floor’s beauty lasts for years to come.
Important Note: The specific steps within each stage can vary depending on the condition of your concrete and the specific look you want to achieve.
POLISHED CONCRETE INSTALLATION: OPTIONS FOR EVERY SITUATION
Whether you’re starting with a brand-new concrete slab, uncovering an existing floor, or need a fresh base for your polished concrete flooring, there’s a solution to achieve the look you want. Let’s explore the different scenarios and how the installation process can adapt to your requirements:
Visit our wedsite to read more.
For more information on TRANSFORM YOUR FLOORS – THE POLISHED CONCRETE PROCESS talk to DirectStone Ltd