
A Comprehensive Guide to Installing PVC Shower Wall Panels
Introduction: PVC shower wall panels offer an exceptional solution for renovating your bathroom with a durable, water-resistant, and low-maintenance option. Whether you are a DIY enthusiast or planning to hire a professional, understanding the correct installation process is crucial for achieving a seamless and watertight finish. This detailed guide will lead you through each step to ensure a successful and expert-looking installation.
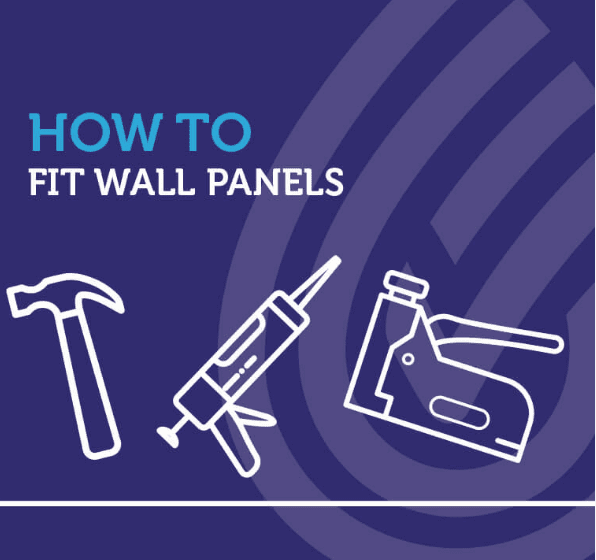
Step 1: Gather Your Materials and Tools Before you commence the installation process, ensure that you have all the necessary materials and tools ready.
You will need: - PVC shower wall panels - Adhesive suitable for PVC - Caulking gun - Silicone sealant - Saw for cutting panels to size - Measuring tape - Pencil - Level - Protective gear such as gloves and safety glasses.

Step 2: Measure and Prepare the Wall Surface Begin by accurately measuring the area where you intend to install the PVC panels. Use a pencil and level to mark the dimensions on the wall for precision. Prior to applying the adhesive, it is essential to ensure that the wall surface is clean, dry, and free of debris or grease.
Step 3: Cut the Panels to Size Using your measurements, carefully cut the PVC wall panels to fit the dimensions of the wall. Always remember to measure twice and cut once to avoid errors. After cutting, double-check the fit of each panel before proceeding with the installation.
Step 4: Apply Adhesive Using a caulking gun, apply a suitable adhesive to the back of the first PVC wall panel. It is important to adhere to the manufacturer’s guidelines for the adhesive. Start at one corner of the wall and work either horizontally or vertically, depending on your preference.
Step 5: Install the Panels Gently press the first panel onto the wall, starting from the corner and working outward. Use a level to ensure that the panel is straight and aligned. Apply even pressure across the panel to ensure a strong bond with the adhesive. Repeat this process for each panel, ensuring a tight fit between them.
Step 6: Seal the Joints Once all the panels are installed, use silicone sealant to seal the joints and edges. Apply a bead of sealant along each seam and smooth it out with a caulking tool or your finger to ensure a watertight seal. This will prevent water from seeping behind the panels.
Step 7: Allow Time to Dry Allow the adhesive and silicone sealant to dry completely before using the shower, following the manufacturer’s instructions. Typically, this process takes 24 to 48 hours. It is important not to disturb the panels during this time for optimal results.

Conclusion: The installation of PVC shower wall panels is a straightforward process that can be accomplished with basic DIY skills and the appropriate tools. By following these steps and paying attention to detail, you can achieve a professional-grade installation that enhances both the aesthetics and functionality of your bathroom. PVC wall panels present a practical, stylish, and contemporary solution for enhancing any bathroom space, offering long-lasting benefits
Feel free to view our complete wall cladding range:-