 Add My Company
How to fit WetWall bathroom shower panels
21-12-2023

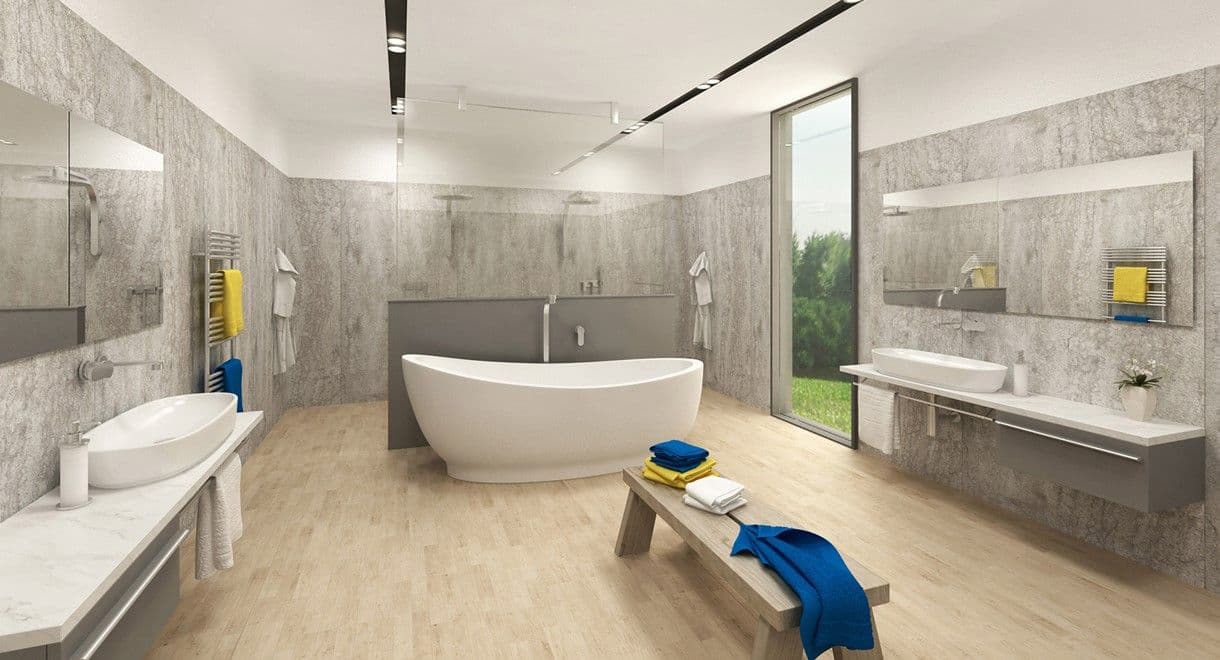
Installing solid bathroom shower wall panels is a straightforward process when done correctly. These panels, crafted from solid birch Ply or exterior grade MDF, offer a waterproof and durable alternative to traditional tiles. Here's a step-by-step guide on how to fit solid Perform Panel bathroom shower wall panels:
Tools and Materials You'll Need:
- Solid bathroom shower wall panels
- Measuring tape
- Spirit level
- Adhesive (specifically designed for wall panels)
- Sealant
- Screws and wall plugs (if necessary)
- Saw or utility knife
- Screwdriver
- Notched trowel
- Caulking gun
- Spacer wedges
Steps to Fit Solid Perform Panel Bathroom Shower Wall:
-
Prepare the Surface:
- Ensure the wall surface is clean, dry, and free from dust, grease, and loose material.
- Repair any existing wall damage or unevenness.
-
Measure and Plan:
- Measure the height and width of the shower area where the panels will be installed.
- Cut the panels to the required size with precise measurements for a snug fit.
-
Apply Adhesive:
- Use a notched trowel to apply adhesive to the back of the panel, following the manufacturer's instructions.
- Apply adhesive evenly, ensuring full coverage.
-
Position the Panels:
- Carefully position the first panel into place, starting at one corner.
- Use spacer wedges at the bottom to maintain a gap between the panel and the shower tray or bath.
- Check the panel with a spirit level to ensure it's level vertically and horizontally.
-
Secure the Panels:
- If necessary, use screws and wall plugs to secure the panels to the wall, being careful not to damage them.
- Some panels may have tongue-and-groove or interlocking edges, eliminating the need for screws.
-
Repeat for Additional Panels:
- Continue fitting the panels one by one, using spacer wedges to maintain consistent gaps.
- Ensure proper alignment and no gaps between panels.
-
Trim and Cut as Needed:
- Trim or cut panels to fit around fixtures, corners, or edges with accurate measurements and clean cuts.
-
Seal the Joints:
- Seal the joints between panels with waterproof sealant, using a caulking gun. Smooth the sealant for a neat finish.
-
Clean and Finish:
- Remove any excess adhesive or sealant while wet.
- Allow the adhesive and sealant to cure as per manufacturer's instructions before using the shower.
-
Final Inspection:
- Double-check all panels are securely in place with no gaps or loose areas.
Fitting solid bathroom shower wall panels can be a DIY project, but if unsure or for complex installations, consulting a professional is advisable to ensure a watertight and aesthetically pleasing result.
For more information on How to fit WetWall bathroom shower panels talk to Perform Panel supplied by BPO Ltd
